Monday, October 14, 2013
Mixed Media Page
Hello my crafty friends and happy Monday to all of you!! So here is my first attempt at a mixed media page for my art journal that I started back in September. I only have limited supplies with me as i am in Celina, Ohio visiting my husband at his new job, and he would only allow so much in the car!! hahaha!!
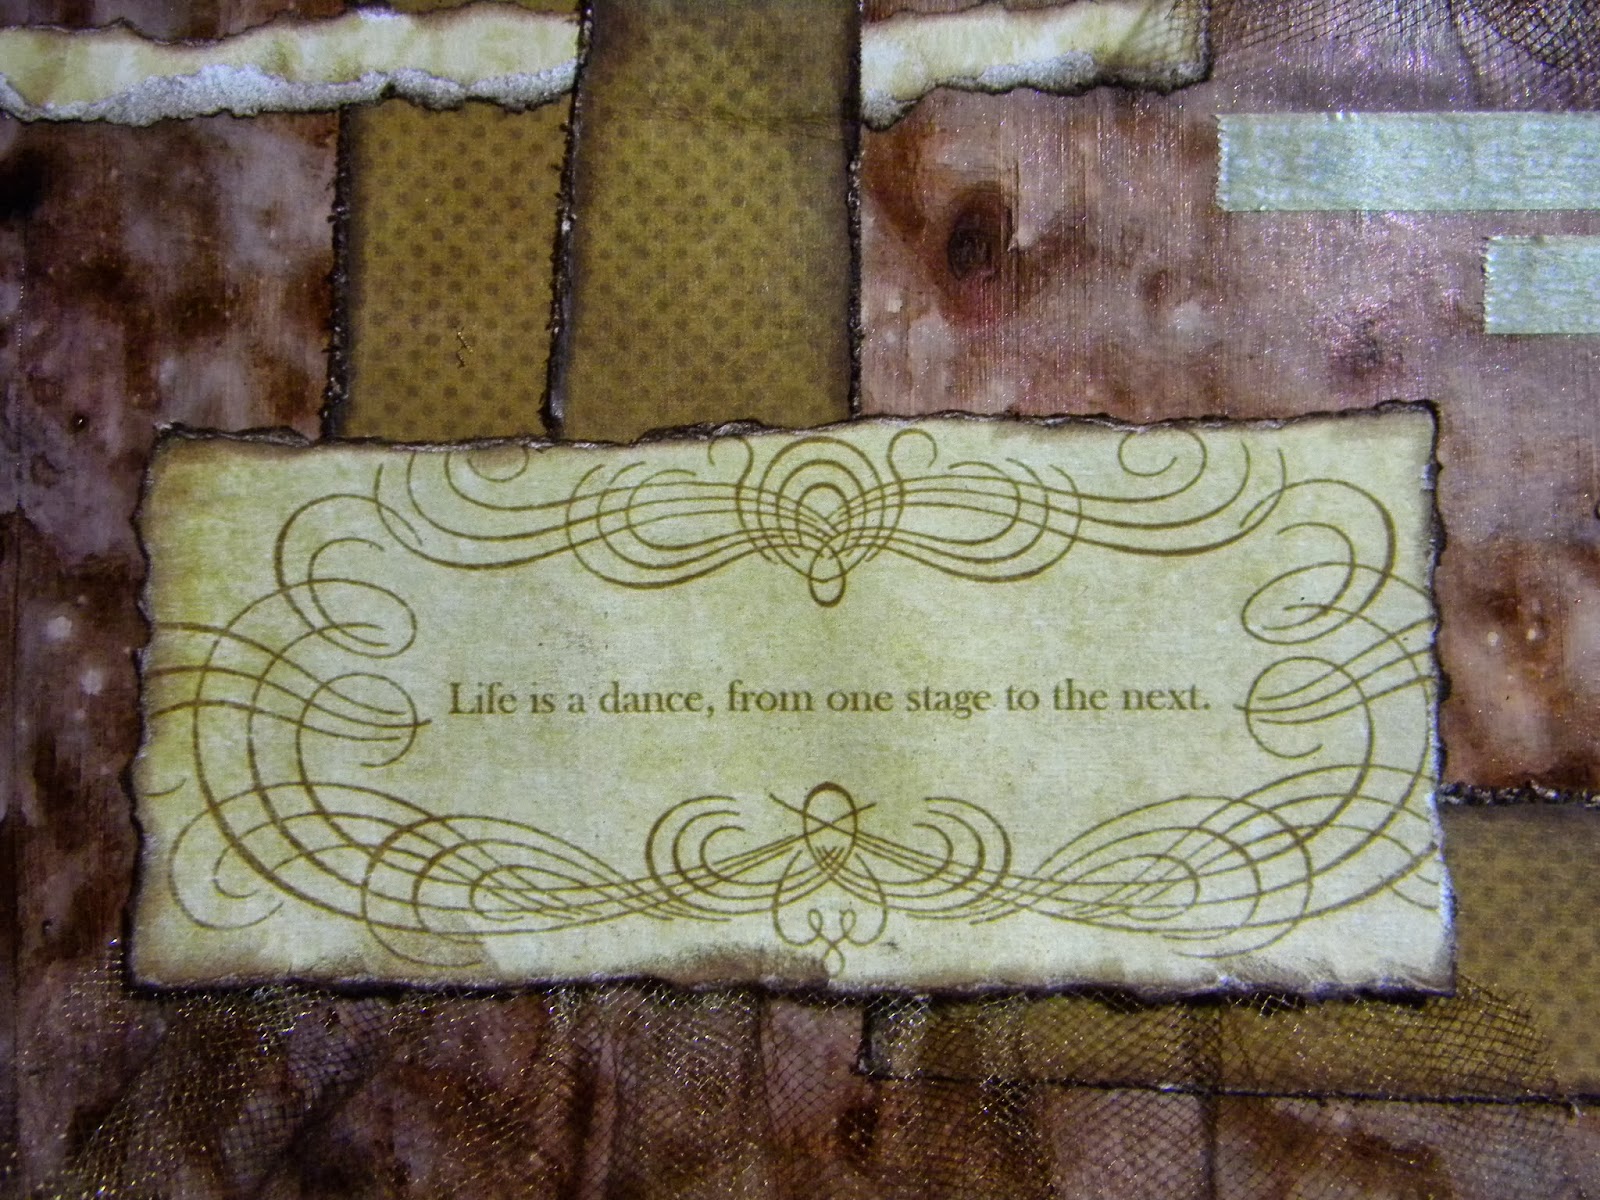
Here is a close up of the journaling I found in a DCWV stack! I really liked it so it was my foundation for the layout!
This is the lower side of the page.
This is a closer look at the top of the page! I used alot of glimmer mist sprays and dabbed and dried them until I got a look that I liked. Then I just started to tear paper and found some green sparklers to add to the top and bottom!
I hope that you enjoyed my "masterpiece", it's hard to show how much it shimmers in the picture, but I loved that I just went for it! It may not be the best, but not bad for a beginner!! haha!! So I am challenging you to go try something new! It doesn't matter how it turns out! Just try! Have a great evening everybody and keep on crafting!!
Always,
Leslie
Wednesday, October 9, 2013
Love & Happiness
Hello there my crafty friends!! Today is my turn to share here on She's a Sassy Lady! Thank you so much Sheila for having me once again!! This is a page that I put together while at my scrapbooking retreat last weekend!! We raised over $1200 for a breast cancer organization located here in the Indianapolis area!
So, here is the layout:
The background paper is from my "stash" of paper and the banners and rectangles with circles are oriental trading christmas paper. The "Love & Happiness" embellishments are from prima and I sprayed them with my glimmer mists!
I promise to share more in-depth pages with you, but I am sorely under the gun, as my son's wedding is in 3 weeks!! So I am just a wee bit crazy right now!! I also think that I will play with how to take better pics of my layouts for you!!
I hope you enjoy the layout and that it inspires you to be creative!! Have a great day my crafty friends!!
So, here is the layout:
The background paper is from my "stash" of paper and the banners and rectangles with circles are oriental trading christmas paper. The "Love & Happiness" embellishments are from prima and I sprayed them with my glimmer mists!
I promise to share more in-depth pages with you, but I am sorely under the gun, as my son's wedding is in 3 weeks!! So I am just a wee bit crazy right now!! I also think that I will play with how to take better pics of my layouts for you!!
I hope you enjoy the layout and that it inspires you to be creative!! Have a great day my crafty friends!!
Saturday, October 5, 2013
My Cricut Craft Room Blog Hop
Hello my crafty friends!! Welcome to My Cricut Craft Room's October Blog Hop!! Collectively the design team and guest designers have made some amazing and special projects to share with you... over 60 projects are on this hop, but it is in less than 20 stops.. You should have started at http://mycricutcraftroom.blogspot.com if not, please start at the beginning!!
I am super excited to be a guest designer on this blog hop that is helping to relaunch Erica's blog!! I have two projects to share with you today!! So scroll on down and take a look!!
This first two page layout is entitled "Bathtime" I know we all have some cute pictures of little one's taking a bath and the New Arrival cartridge has the perfect cuts for this!! Don't you just love that little baby in the bathtub!! She is from the Paper Dolls for Everyday cart!! I also used an EK boarder punch!! And some ducks and water spots from my un-ending stash of baby embellishments!!
Now this layout is one that I have been working very hard on. It is a vintage "Generations" layout. It is still a work in progress. I think I am done with it, and then when I look at it, I add more to it!! Lol!! But, we are preserving memories here, and the photo of my grandaughter holding my mother's finger is priceless to me. As well as the photo of all four generations. The Heritage cart is the perfect cart for this type of layout!! I love the font from the Blackletter cart and the Art Philosophy cart made the perfect tag!!
Thanks so much for stopping by and visiting my crafty space!! Please make sure to follow me and by all means leave a comment! I love hearing from you!! I hope that I have inspired you to do something creative today!!
Your next stop is on the blog hop is Roberta Swisher and here is the link:
http://queenbeepapercrafts.blogspot.com
If you should get lost along the way, here is the entire line up:
2. Vivi J http://www.vivijdesigns.blogspot.com
3. Cindy M http://www.inlovewithpaper.blogspot.com/
4. Shawn Mosch - http://craftychicsblog.blogspot.com/
5. Liliana Umpierre - http://www.likidesigns.com/blog
6. Leslie Wrege McGrath - http://scrapnlifeaway.blogspot.com/
7. Roberta Swisher - http://queenbeepapercrafts.blogspot.com/
8. April Nourse www.curlsandgrins.blogspot.com
9. Brenda Knapik - http://www.disneygirlcrafts.com/
10. Lourdes - http://creativecraftsniche.blogspot.com/
11. Vicki Glenn - http://www.vickiscraftroom.blogspot.com/
12. Erica http://EricasProjects.blogspot.com
13. Connie Walsh - http://www.ConnieCreates2.blogspot.com
14. Tracey http://www.thecroppingcanuck.blogspot.com
15. Oh Kissa http://www.ohkissa.com/thought-bubble.html
16. Sandy-http://www.aworkingmomsjoy.blogspot.com
17. Kris Dietz -- http://http://kreationsbykrisdietz.blogspot.com/
18. Mayra- http://mayrasdesigns.blogspot.com/
19. Cheryl www.Cricutobessed.blogspot.com
20. Crafting Blog Events http://craftingblogevents.blogspot.com
Sunday, September 22, 2013
Art Journal Cover
Well hello there my crafty friends!! I have been wanting to create for a very long time an art journal. Just by looking at our scrapbook albums, we can see how far we have progressed. Have you been there?? Compare your first album to one you have just completed or are currently working on. For me, the growth and changes has been incredible!!
Well, i've discovered that telling our stories is not always just about all the pretty paper. Now don't get me wrong, I eat, sleep and breath scrapbooking, and I always will. I have just discovered another step in the creative process that I want to succeed at. It's called mixed media, and I want to document where I am today and where will my creativity take me on my journey into this fantastic world of creativity! Remember, attempting to be creative is my escape from this crazy world we live in and my crazy day to day life.
I have been adding little bits of mixed media into my scrapbook pages here and there, but this is my very first strictly mixed media creation!! it is the cover of my journal. Notice the title, no rules, no limits!!
It was so freeing to me to just create, that there is no right or wrong!! there truly are no rules and no limits to what you can create!!
I am truly excited to be sharing more of my mixed media are with you through this blog. But as i said before, i will never stop sharing with you all my scrapbook pages, cards and tags!! It's all part of the process of creativity for me!
Here are a few close up shots of the front page of my art journal:
Thank you so much for stopping by my little creative part of the world!! Please feel free to leave me a comment below in the comment box! I would love to hear what you think!! Have a great week everybody!! Now, go forth and create!!
Well, i've discovered that telling our stories is not always just about all the pretty paper. Now don't get me wrong, I eat, sleep and breath scrapbooking, and I always will. I have just discovered another step in the creative process that I want to succeed at. It's called mixed media, and I want to document where I am today and where will my creativity take me on my journey into this fantastic world of creativity! Remember, attempting to be creative is my escape from this crazy world we live in and my crazy day to day life.
I have been adding little bits of mixed media into my scrapbook pages here and there, but this is my very first strictly mixed media creation!! it is the cover of my journal. Notice the title, no rules, no limits!!
It was so freeing to me to just create, that there is no right or wrong!! there truly are no rules and no limits to what you can create!!
I am truly excited to be sharing more of my mixed media are with you through this blog. But as i said before, i will never stop sharing with you all my scrapbook pages, cards and tags!! It's all part of the process of creativity for me!
Here are a few close up shots of the front page of my art journal:
| top right corner of journal cover |
| bottom left corner of journal cover |
Thank you so much for stopping by my little creative part of the world!! Please feel free to leave me a comment below in the comment box! I would love to hear what you think!! Have a great week everybody!! Now, go forth and create!!
Wednesday, September 11, 2013
Fall Layout Sneak Peak!!
It’s hard to believe that it is already September, although the temperature outside does not reflect it!! Today is my day to share a creation over at http://shesasassylady.blogspot.com/ ! This is the post that I shared!!
The layout that I am sharing today is kind of a sneak peak! I am teaching a class in October at a retreat that will raise money for breast cancer! I will be teaching 2 double page layouts, which have a fall theme, and this is one of the double page layouts!! I had some pictures from my grandaughter’s first Halloween (she’s 2 now) and they were just perfect for this!!
The paper is from the Farmhouse fall collection. The pumpkins and vines are from the Happily Ever After cart. The leaves are from A Child’s Year cart. The metal Hope embellishment is from Tim Holtz. The twine and doiley are from my ever growing stash!!
All the paper strips have been distressed and chalked to provide that distressed feel. The pumpkins have been stamped with a texture stamp I borrowed. The leaves have been sprayed with olive vine glimmer mist and then chalked with a Mango Mai Tai powder puff.
And, what’s a layout without a few tags! I just had to add a tag with some cornstalks, the stamp is from CTMH Abundance Holiday collection and of course it has been sprayed and distressed! The journaling was cut at ¾ in. from the Plantin cart using the roly poly feature, and then I outlined the letters (just in random spots on the letters) with an orange colored pencil! The smaller tags were also sprayed with olive vine and then stamped with the same stamp that I used on the pumpkins! Then the finishing touch, I lightly painted all the pumpkins, leaves, small tags and letters with crackle accents!!
I hope that you enjoy this layout and that it inspires you to create a beautiful fall layout of your own!! If you like what you see, please be sure to leave me a message below! I love to hear from all my crafty friends out there!! And by all means, feel free to follow me by just signing up!! Have a great day everybody!!
Wednesday, August 14, 2013
Vintage Flower Tag
Hello Friends!! It’s been such a hectic week!! This past week was my first full week back to
school and I don’t know who’s more exhausted!!
Me or the kid’s in my classroom!!
But, schedules are coming together and the kids are adjusting back to
the routine, so life is good! I am also proud to say that my husband and I celebrated 28 years of marriage on Saturday! He is the best man I know and I am so blessed to have spent all these years together!! He is more than I could have ever dreamed of in a husband! Now I just
have to get through my son’s wedding in November and I will be good to go
(ha!)!! The wedding will keep me busy, but I just can't believe my first baby is getting married!! Where did the time go?!?!
![]() |
| Vintage Flower Tag |
This is my take on a vintage flower tag! It was so much fun and easy to do and I used some of my favorite “stuff”!! So, on that note, let’s make a tag!!
I started out with a standard shipping tag (4-3/4 x 2-3/8). I actually bought some at the office supply store, I got 100 tags for just a couple bucks. On days that I have more time I will cut a bunch out on my cricut as well! There are so many carts with really cute tags! I sprayed the tag with two different glimmer mists. (My favorite "stuff" to play with!) Olive green on the top of the tag and gold on the bottom. (hint: I keep a large pizza box on hand when spraying my glimmer mists! It saves me on having to clean any mess I make) I then gave the tag a quick dry with my heat tool.
I knew I wanted a sentiment on the tag so I pulled out my big book of stamps! (I will have to pull that out for all of you sometime!) I found a nice sentiment and flowers in the Treasured Memories stamp set by CTMH. I used Vintage Photo Distress Ink by Tim Holtz to stamp my sentiment and Iced Spruce Distress Ink for the flowers. I also used my little dauber thingy (lol) to distress a flower I found in my stash.
It took just a few moments for my ink to dry on the tag and on the flower. Then I used my handy dandy quick dry adhesive and glued the flower down onto the tag. I also grabbed my Prima branch bark chalk and chalked the edges of the tag. When I am doing a “vintage look” project, I make sure to let the chalk actually bleed over onto the surface to help me achieve that worn look. I grabbed a 6 in. piece of twine and tied it on the top and there you have it!!
Tuesday, July 30, 2013
Hand Made, Hand Painted Card
| Come Craft With Me!! |
Hello my creative friends!!
I am sorry I haven’t posted in a few weeks, life for me has been rather crazy! I went to spend some much needed time with my
sister and nieces out at my Mom’s house in Ohio. Then my Mom and I flew out to Florida for a
week! I am so excited for her as she
purchased her winter home paradise while we were down there (and an awesome red
golf cart lol)!! So, now I think I know
where my spring break destination is going to be hehe!!
I am THRILLED to announce that TODAY my very first tutorial
post was published over at http://shesasassylady.blogspot.com/
!! Her blog is wonderful, so please stop
by and visit! Here is the tutorial I
shared over at Sassy Lady! I hope you
enjoy it as much as I enjoyed creating it!!
Hand Made, Hand Painted Card Tutorial
Hi!! I’m Leslie from http://scrapnlifeaway.blogspot.com/
! I am brand new to blogging, but I have
been a die-hard scrapbooker for about 6
years now! This is my very first post
here at She’s A Sassy Lady! Thank you to
Sheila for giving me the opportunity to be part of your Design Team family!! I hope that I can encourage others to be
creative! I am not gonna lie, I’m rather
nervous, but onward and upward!! Let’s
make a card!!
I started out with a basic 8 ½ x 11 piece of ivory card stock and cut it in
half to create my 5 ½ x 4 ¼ card base.
I then cut one 5 ½ x 4 ¼ patterned paper from my DCWV Stack 7 pad. Chalk the edges of the patterned paper with
my Prima Branch Bark chalk. Then adhere
it to the front of the ivory base. Cut
two 5 x 3 ¾ mats using dark tan paper
from my DCWV Mariposa Stack. I trimmed
the bottom of each mat using one of my EK punches.
Using my VersaMark watermark stamp pad, I randomly stamped three different flowers (from Scrappy Cat) on the mat that will go on the front of the card. I stamped my “thank you” sentiment from the CTMH Casual Expressions stamp set in the lower corner of the mat. I then covered my stamped images with Rangers Copper embossing powder and then hit them with my heat gun. I also stamped and embossed a flower on the mat that will go inside my card.
I wanted to add color to my flowers, but I don’t own any Copic
Markers, and I didn’t like the look when I tried my water color pencils. BUT, I do own some Perfect Pearls by
Ranger!! I used Blush, Forever Violet,
Blue Smoke and Forever Green. Using a
paint brush with a very thin tip, I painted each flower. I allowed about ½ an hour for my painted mats
to dry.
After my flowers were dry, I chalked the edges of the mats
with my branch bark chalk. On the mat
that goes inside the card, I stuck a ½ in. strip of the patterned paper on to
the top of the mat. I thought it would
add some nice contrast and tie it into the front of the card. After looking at the mats, I decided they
still needed a little “something”, so I glued some small gems onto the centers
of the purple flowers.
And here it is!! A
hand made, hand painted card!! You can
make this card so versatile by simply switching out the sentiment!! I hope that you enjoyed my very first
tutorial! Please feel free to stop by my
blog! I am starting on a wonderfully
creative journey and I would love for you to follow along! Who knows where we will end up! A huge thank you to Sheila for having me
visit today! I’ve had a creative blast!
Always,
Leslie
Subscribe to:
Posts (Atom)